TL;DR:
- Screenshot storytelling guides users through a visual narrative, increasing engagement and conversions.
Most indie apps lose potential downloads before a single user reads the description. The screenshots are the first thing people see, and for too many apps, those screenshots are just a parade of features with no thread connecting them. Many developers still use basic feature callouts, missing out on storytelling flows that actually capture attention and drive installs. Screenshot storytelling changes that. It treats your screenshot slot as a visual sequence with a beginning, middle, and end. This article covers what that means in practice, how to structure it, what real indie devs have seen from it, and how to execute it quickly even without a design background.
Table of Contents
- What is screenshot storytelling?
- The 3-act structure: How to craft your screenshot story
- Real-world examples and results from indie developers
- Tools and best practices for easy screenshot storytelling
- Why screenshot storytelling is the indie developer’s edge
- Create high-converting screenshot stories with AppScreenKit
- Frequently asked questions
Key Takeaways
| Point | Details |
|---|---|
| Narrative over features | Screenshots organized as a cohesive story grab more user attention and boost conversions compared to simple feature lists. |
| Three-act framework | Structure your screenshots as hook, user journey, and trust-building proof for maximum impact. |
| Indie success stories | Small app teams have achieved dramatic improvements in downloads using screenshot storytelling techniques. |
| Tools enable everyone | Modern tools make designing and testing story-driven screenshots fast, even for non-designers. |
What is screenshot storytelling?
Now that the need for a more strategic visual approach is clear, let’s define screenshot storytelling and see how it stands apart from the default approach most developers take.
Screenshot storytelling is a technique for designing App Store screenshots as a cohesive narrative sequence rather than a random collection of app views. Instead of showing five unrelated screens, you guide the potential user through a progression. They see the problem they recognize, then the solution your app offers, then the proof that it works. That’s it. That’s the story.

Why does this matter? Because people connect with stories, not feature lists. A caption that says “Dark mode support” tells someone a fact. A caption that says “Focus without eye strain, day or night” tells someone how their life gets better. The second one earns the download.
Here’s a quick comparison of the two approaches:
| Feature-dump screenshots | Storytelling screenshots |
|---|---|
| Random app screens | Ordered narrative sequence |
| Feature-first captions | Benefit-first captions |
| Inconsistent visual style | Consistent branding and tone |
| No emotional connection | Builds trust and desire |
| Static, interchangeable | Each screenshot has a role |
Indies commonly make a few specific mistakes with their screenshots. Learning screenshot optimization early saves you from these:
- Uploading screenshots with no logical arc or flow between them
- Writing captions that name features instead of outcomes
- Using inconsistent fonts, colors, or device frames across slides
- Burying the strongest benefit in screenshot 3 or 4 instead of leading with it
- Skipping social proof entirely, even when reviews exist
“Guiding users from problem and hook to solution and flow to proof and trust is the conversion sequence that story-driven screenshots execute better than any feature list ever could.”
This is the core insight that separates apps with strong store performance from those that stagnate. If you want to see how visual marketing strategies apply broadly to app listings, the pattern is the same: story beats features every time.
The 3-act structure: How to craft your screenshot story
With the basics defined, it’s time to look at the core structure of an effective screenshot story and how you can apply it to your own app listing.
The three-act structure of Hook, Flow, and Trust maps directly to how users scan app listings. They spend less than eight seconds on screenshots before making a decision. Each act has to earn the next one.
Here’s how each act maps to your screenshots in practice:
- Act 1: Hook (Screenshot 1). Lead with the user’s outcome, not your logo. Show the clearest, most desirable result your app delivers. Make it impossible to scroll past.
- Act 2: Feature flow (Screenshots 2 to 4). Walk through 2 to 3 core features in progression. Each should build on the last. Show the app in real use, with short benefit-led captions.
- Act 3: Trust and proof (Screenshot 5). Close with social proof, a rating callout, a user milestone, or a key stat. Give the hesitant user a reason to commit.
Here’s how those acts look when mapped to caption and background choices:
| Act | Example caption | Background style |
|---|---|---|
| Hook | “Track every habit in 60 seconds” | Bold gradient, high contrast |
| Feature flow | “Daily streaks keep you on track” | Soft brand color, clean layout |
| Feature flow | “Weekly reports, zero setup” | Neutral with app screen focus |
| Trust | “Loved by 50,000+ users” | Dark or premium tone, star rating |
A few best practices apply across all three acts. Use panoramic or consistent gradient backgrounds so each screenshot feels like part of the same set. Keep captions under eight words where possible. Match device frame style across every slide. Branding your screenshots consistently is what makes the sequence feel intentional rather than improvised.
Pro Tip: Make your first screenshot outcome-focused. Not a logo, not a tagline, not an abstract graphic. Show the user what their life looks like after they install your app. That one change alone can lift tap-through rates noticeably. If you want to stay current, tracking visual trends for app stores helps you keep your three-act story looking fresh as design expectations shift.
Real-world examples and results from indie developers
Understanding the structure is one thing. Seeing results in practice is another. Here’s what happened for real indie developers who applied screenshot storytelling to their apps.
The numbers are hard to argue with. Indie devs who rebuilt screenshots for 9 apps across 10 languages saw dramatic visual and conversion improvement after switching to story-driven sequences. That’s not a minor refresh. That’s a full narrative rebuild, done at scale.
Some of the patterns that emerged from indie success stories:
- Benefit-first caption rewrites delivered faster comprehension and higher scroll-stop rates
- Consistent device framing across all screenshots improved the perception of product quality
- Localized storytelling (adapting the narrative for each language market) compounded the gains
- Story-first layout let even simple apps look polished against better-funded competitors
- Using pre-built screenshot templates helped small teams move fast without sacrificing the narrative structure
One standout result: some indie apps hit 3,000 downloads by combining story-driven screenshots with solid ASO fundamentals. That’s not from paid acquisition. That’s from making the listing itself more persuasive.
The 9 app case study is worth reading in full if you want to see the before-and-after in detail. The key takeaway is that the developer didn’t have a bigger budget or a better product. They had a better visual story.
Reviewing your full app store listing checklist alongside your screenshot story helps you catch the gaps that even strong storytelling can miss.
Pro Tip: Always A/B test your screenshot narratives with different user types. A habit tracker appeals differently to productivity users versus wellness users. Craft two versions of your story and let the data tell you which resonates. Even small sample sizes reveal patterns quickly.
Tools and best practices for easy screenshot storytelling
To make screenshot storytelling an achievable process, let’s cover the best tools and practical tips for indie teams who want results without a six-person design team.
Tools like AppScreens and Stora let small teams iterate quickly, generating story-ready screenshot sets without starting from scratch in Figma. The key is custom iteration. Generic outputs from any tool will still look generic. The story has to be yours.
Here are the top tools worth knowing:
- AppScreens: Good for fast generation with device mockups and basic caption layouts. Solid for early drafts.
- Stora: Useful for quick localization and resizing across device sizes, which matters if you’re in multiple markets.
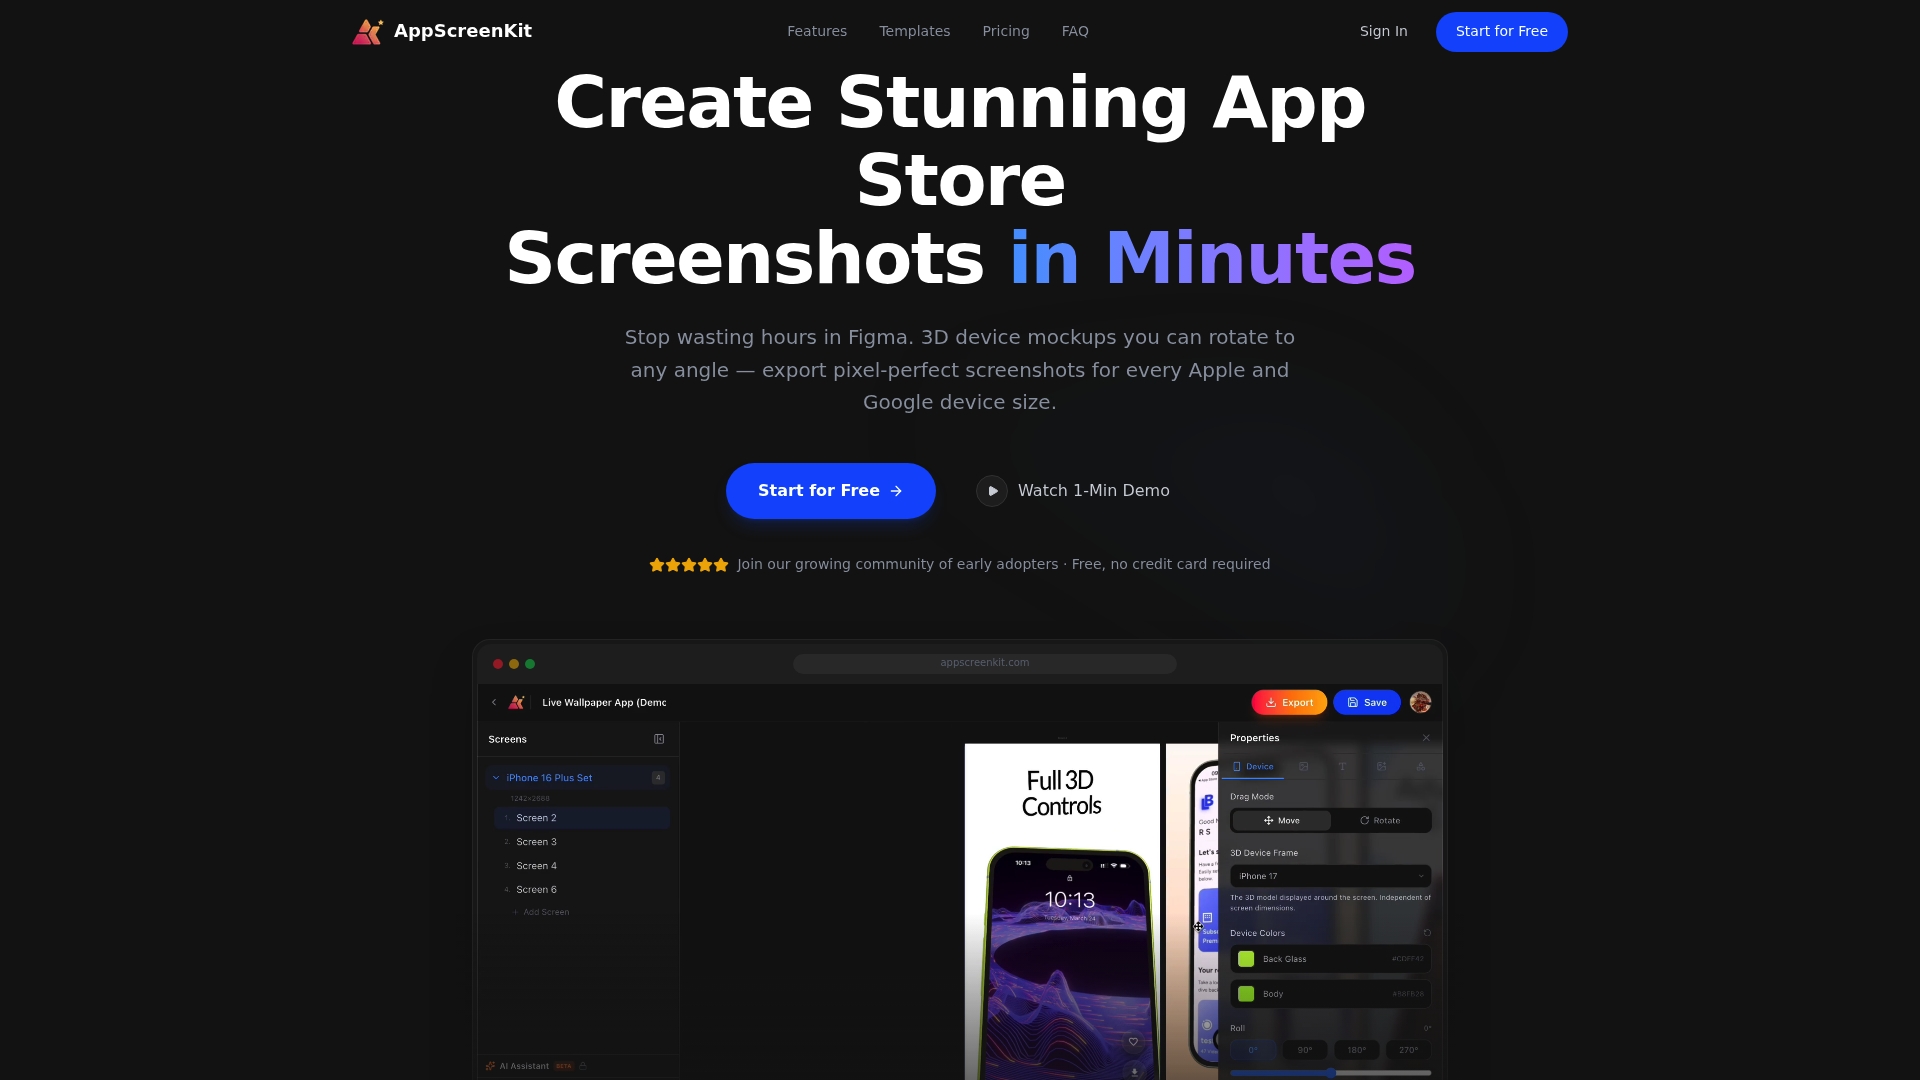
- AppScreenKit: Built for indie teams who want professional 3D device mockups, gradient backgrounds, branded text, and pixel-perfect exports without needing design skills. One click exports to all required device sizes.
One important warning: generic AI outputs can cost you downloads if they make your listing look indistinguishable from hundreds of others. The visual story has to feel like your app, your brand, your user. Automation helps you move fast. It doesn’t replace intentional design choices.
Best practices for your screenshot storytelling workflow:
- Draft your three-act narrative in plain text before opening any tool. Story first, design second.
- Choose a brand color palette and stick to it across all screenshots.
- Write captions before placing them. Edit ruthlessly. Remove every word that doesn’t add to the benefit.
- Export all required sizes in one pass to avoid inconsistency across devices.
- Review the output as a set, not as individual images. The sequence has to flow.
Applying smart branding steps early means you spend less time fixing visual inconsistencies later and more time testing what actually converts.
Why screenshot storytelling is the indie developer’s edge
Here’s an uncomfortable truth about big studios: their size works against them when it comes to App Store visuals. Multiple approval layers, brand committees, and conservative marketing teams almost always default to feature-dump screenshots because they’re safe and easy to defend internally. Nobody gets fired for listing six features.
Indie teams don’t have that problem. You can decide today to rewrite your screenshot captions, swap the order, and lead with your strongest outcome. You can ship a new narrative this week. That speed is a real competitive advantage, and most indie developers don’t use it.
The deeper opportunity is authenticity. Story-driven screenshots built by a solo dev or small team tend to feel more personal than polished corporate listings. That emotional tone builds connection faster. Users can sense when something was made by someone who cares versus assembled by a committee.
Most ASO conversations focus on keywords and metadata. Visual story flow is still undervalued as a conversion driver. If you invest in your branding tutorial and build a consistent visual narrative, you’re operating in a space where most competitors are still asleep. That’s where indie teams punch above their weight.
Create high-converting screenshot stories with AppScreenKit
Ready to give screenshot storytelling a real shot? Here’s the fastest path to action.
AppScreenKit is built specifically for the workflow you’ve just read about. You can set up your three-act story, drop in your app screens, apply 3D device mockups, add branded gradient backgrounds, write your captions, and export every required device size in one click. No Figma. No back-and-forth with a designer.
Start with the fast screenshot generation guide to see the workflow in action. If you want your screenshots to feel consistent and on-brand, the screenshot branding tutorial walks you through every visual decision. When you’re ready to build, the AppScreenKit generator is free to start and built for indie teams who want professional results without the overhead.
Frequently asked questions
What makes screenshot storytelling different from typical app screenshots?
Screenshot storytelling organizes your App Store visuals as a guided narrative sequence designed to persuade, not just a display of individual features. Each screenshot has a specific role in moving the user toward an install decision.
Do I need design skills to use screenshot storytelling?
No. Tools like AppScreens and Stora generate story-ready screenshot flows fast, and platforms like AppScreenKit eliminate the need for Figma or a design background entirely.
How many screenshots should my story have?
Aim for a 3 to 5 screenshot arc using Hook, Flow, and Trust as your structure, focusing each slide on user benefits rather than technical features.
Does screenshot storytelling actually improve downloads?
Yes. Indie devs report significant conversion lifts, and some hit 3,000 downloads after switching from feature-dump screenshots to a story-driven visual sequence, without increasing ad spend.
Leave a Reply