TL;DR:
- Manual screenshot processes are time-consuming, error-prone, and frequently cause store rejections.
- Automation ensures consistent, compliant, and high-quality visuals across all device sizes and locales.
- Small teams and indie developers benefit greatly from automation to speed releases and improve listing performance.
Every developer knows the feeling: you’ve built something great, your app is ready to ship, and then you spend the next two days fighting with screenshot exports, wrong dimensions, misaligned text overlays, and App Store rejections you didn’t see coming. App store screenshots are the single most viewed element of your listing, yet creating them manually is one of the most painful, error-prone steps in the entire release process. This article breaks down exactly why manual workflows fail, how automation solves the core problems, and what to look for in tools that actually deliver consistent, store-ready results every time.
Table of Contents
- The complexities of app store screenshots
- Manual vs. automated workflows: A side-by-side look
- What makes automation effective? Key ingredients for success
- Real-world results: How automation improves app conversion and launch speed
- Our take: Why automation is a strategic advantage for small teams
- Upgrade your screenshot workflow with AppScreenKit
- Frequently asked questions
Key Takeaways
| Point | Details |
|---|---|
| Automation prevents rejections | Automated tools handle edge cases and official requirements that often slip past manual workflows. |
| Consistent results, every time | Deterministic automation with mock data produces screenshots that look right on every device and locale. |
| Frees up development time | Automated workflows eliminate manual busywork, so your team can focus on building new features. |
| Boosts store conversions | High-quality, compliant screenshots directly improve app store visibility and user conversion rates. |
The complexities of app store screenshots
App Store and Google Play don’t make screenshot requirements easy to meet. Apple alone requires screenshots across multiple device sizes including 6.9-inch, 6.5-inch, 5.5-inch, and iPad Pro dimensions, and each one must meet exact pixel specifications. Google Play has its own set of rules around aspect ratios, file sizes, and content guidelines. Miss a single requirement and your submission bounces back, costing you days of reviewer time and delaying your launch.
The challenge goes deeper than just pixel counts. Here’s what developers are actually dealing with:
- Device-specific quirks: Different screen sizes render UI elements at different scales. A button that looks great on a 6.9-inch display can appear cramped or oddly spaced on a 5.5-inch screen.
- Orientation variations: Some apps need both portrait and landscape screenshots, and each requires a completely separate production pass.
- Text overlay alignment: Promotional text added on top of screenshots can shift unpredictably when the underlying image changes dimensions.
- Localization complexity: If your app supports multiple languages, you need a complete set of screenshots for each locale, sometimes with right-to-left (RTL) layouts that break standard left-to-right design assumptions.
- Consistency requirements: Apple expects screenshots to look cohesive across device sizes. A set that looks polished on one device but sloppy on another signals a lack of professionalism to both reviewers and users.
Screenshot size compliance is one of the most common rejection triggers, and it catches experienced developers off guard because the rules change whenever Apple or Google releases a new device. The iPhone 16 Pro Max, for example, introduced new dimension requirements that invalidated previously approved screenshot sets.
“Automated capture pipelines must handle locale/text changes, orientation, device requirements, and UI rendering differences to avoid rejection.” — fastlane documentation
The hardest part about understanding why screenshots get rejected is that the feedback from reviewers is often vague. You might receive a generic “metadata rejected” notice without clear indication of which screenshot, which device size, or which requirement was violated. That ambiguity forces developers to manually audit every image in their set, which takes time they don’t have.
For solo developers and small teams, this problem is compounded. There’s no dedicated design resource, no QA pipeline checking every export, and no buffer in the schedule for a second round of rejections. Getting this right the first time isn’t just a convenience. It’s a business necessity.
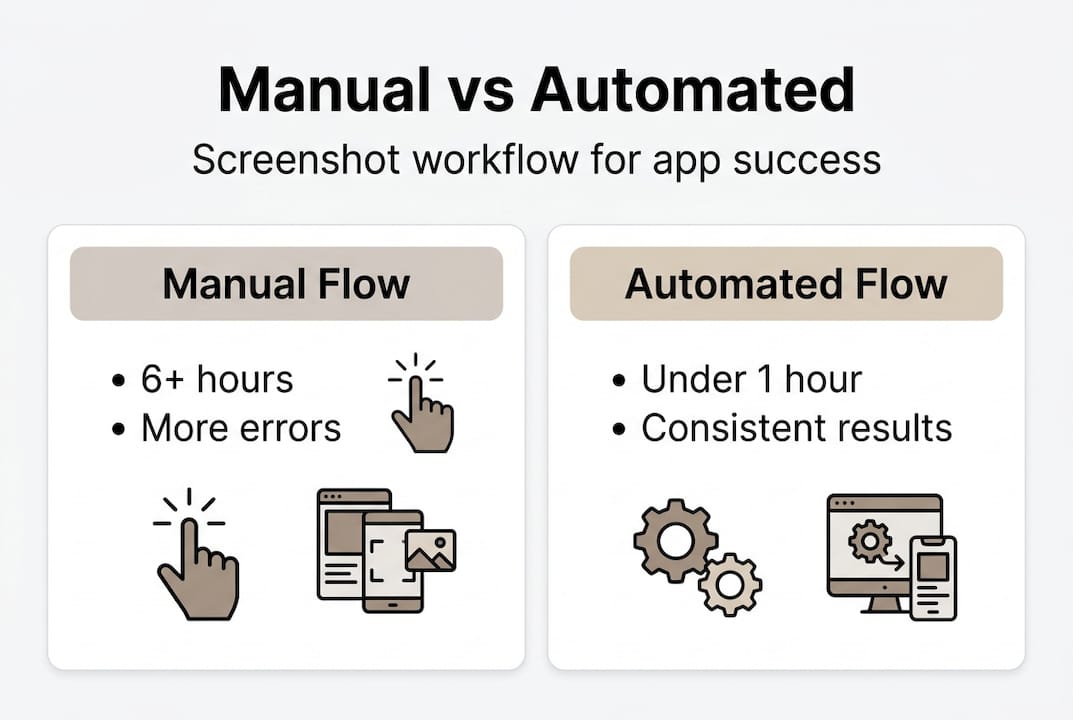
Manual vs. automated workflows: A side-by-side look
Seeing the pitfalls of manual approaches, let’s directly compare your options.
| Factor | Manual workflow | Automated workflow |
|---|---|---|
| Time per release | 6 to 12+ hours | Under 1 hour |
| Error rate | High (human variability) | Very low (deterministic output) |
| Localization support | Tedious, easy to miss | Built-in, runs automatically |
| Device coverage | Each size done individually | All sizes generated in one pass |
| CI/CD compatibility | None | Native integration |
| Consistency across updates | Inconsistent | Identical output every run |
Manual workflows rely on a developer or designer opening design files, exporting images, resizing them for each device tier, adding text overlays, checking alignment, and repeating the entire process for every locale supported. That’s a realistic 8 to 12 hours of work for a moderately localized app targeting three device sizes. And the worst part? That entire process repeats with every meaningful app update.
Fast screenshot generation isn’t just about convenience. It directly affects how quickly you can respond to store algorithm changes, seasonal promotions, or competitive shifts in your category. A competitor that automates can refresh their listing visuals in an afternoon. A manual team takes days.
Automation handles the repetitive parts that eat developer time:
- Generating all required device sizes from a single source
- Applying consistent branding, fonts, and color schemes across every image
- Adapting layouts for localized text that may be 30% longer or shorter than the source language
- Enforcing compliance with current store requirements automatically
Pro Tip: If you’re currently doing screenshots manually and dreading your next release, start by automating just one device size with a single locale. That first automated pass will show you immediately how much time and friction you’ve been absorbing unnecessarily.
Automation reduces flaky screenshot differences and avoids wasted developer and reviewer time, which compounds across every release cycle. Over the course of a year with quarterly major updates and monthly minor ones, the time savings alone justify the switch.
What makes automation effective? Key ingredients for success
Comparing processes highlights automation’s edge, but only well-designed tools deliver reliable success. Not all automated screenshot tools are created equal. Here’s what separates the tools that actually work from the ones that add new problems while solving old ones.
-
Determinism: Every run should produce identical output given the same inputs. This means using stubbed or mocked data rather than live app states. If your screenshots depend on real user data or live API calls, the output will vary between runs. A screenshot taken Monday morning might look different from one taken Friday afternoon because the underlying data changed. Mocking eliminates that variability entirely.
-
Device and locale adaptation: A capable tool handles different device sizes, pixel densities, orientations, and locales out of the box. It shouldn’t require you to manually configure every combination. The tool should know that a 6.9-inch iPhone needs different canvas dimensions than a 12.9-inch iPad Pro, and it should apply those specs without your intervention.
-
CI/CD integration: The best tools slot directly into your existing build pipeline. That means screenshots update automatically every time you cut a release build, without anyone on the team having to remember to run a separate process. This removes the human handoff point that’s responsible for most automation failures.
-
Staying current with store requirements: App stores update their specifications regularly, sometimes with very little notice. A tool that hasn’t been updated to reflect new device sizes or changed guidelines will produce non-compliant output even if everything else is working perfectly. Actively maintained pre-built screenshot templates that reflect current store requirements remove this burden from your team.
“Well-designed automation should be CI/CD-friendly and deterministic, using stub data, fixed device handling, and updated tool versions to ensure reliable output.”
Screenshot optimization isn’t just a technical concern. It also involves the visual quality and persuasiveness of the images themselves. A tool that generates technically compliant screenshots that look bland or confusing still hurts your conversion rate. Look for tools that pair compliance with design quality, offering professional mockups, gradient backgrounds, and branded text elements that make your screenshots compelling to users, not just acceptable to reviewers.

Pro Tip: Always use mocked or stubbed data for your automated screenshots. Never rely on live data from your app or backend. This single practice eliminates the largest source of inconsistency in automated screenshot pipelines and keeps your output deterministic across every run.
Real-world results: How automation improves app conversion and launch speed
With these essentials in place, what can you expect in practice?
The numbers are compelling. Development teams that switch from manual to automated screenshot workflows consistently report significant time savings and measurable improvements in listing performance.
| Metric | Before automation | After automation |
|---|---|---|
| Time spent per release | 8 to 12 hours | Under 1 hour |
| Screenshot rejection rate | 15 to 25% | Under 2% |
| Locales supported | 2 to 3 (limited by time) | Full support for all target markets |
| Release cycle speed | Delayed by screenshot production | No bottleneck |
Developers report that automation doesn’t just save time. It fundamentally changes what’s possible for a small team. When screenshots take a full day or two to produce manually, you make fewer updates. Fewer updates mean your listing goes stale. A stale listing loses ground to competitors who refresh their visuals more frequently.
Edge-case automation lets developers avoid common App Store rejection reasons, saving time and driving faster releases. In practice, this means catching RTL layout breaks, text truncation issues in localized languages, and dimension mismatches before they reach the reviewer, not after.
Consider what higher-quality screenshots mean for your actual conversion rate. Listing quality and downloads are directly linked. Users decide whether to install your app within seconds of landing on your listing, and screenshots drive most of that decision. Professional, consistent visuals communicate reliability and attention to detail before users ever open your app.
Here’s what automation delivers in real-world scenarios:
- Faster time to market: Release cycles no longer get blocked waiting for a designer to export and check screenshots manually.
- Better localization coverage: Teams that previously limited localization to two or three languages because of the manual overhead can now support all target markets equally.
- Consistent updates: When you add a new feature, automated pipelines generate updated screenshots immediately as part of the build process.
- Reduced reviewer friction: Consistently compliant screenshots mean fewer back-and-forth cycles with App Store reviewers, which shortens the overall review window.
For indie developers, this is especially significant. When you’re running a one or two-person operation, every hour spent on non-development tasks is an hour not spent improving your product. Automation acts as a force multiplier, letting a small team compete on listing quality with much larger organizations that have dedicated design and marketing resources.
Our take: Why automation is a strategic advantage for small teams
Most articles on this topic frame automation as a time-saving tactic. That’s accurate, but it misses the bigger picture. For small development teams, automation is a strategic lever that changes what you can accomplish with a limited headcount.
Here’s the part that rarely gets discussed: manual screenshot processes don’t just waste time. They create a subtle tax on team morale. Developers who spent three days building a polished feature shouldn’t spend another two days wrestling with Figma exports and dimension errors. That kind of repetitive, error-prone work is demoralizing. It blurs the line between creative development work and administrative overhead.
When your team automates the screenshot pipeline, something shifts. Releases feel lighter. Updates feel achievable. The psychological burden of “we still need to do screenshots” disappears from every launch checklist. That shift in team energy is hard to quantify, but it’s real, and it compounds over time.
The advantages of mockup tools for app store success extend beyond the technical. They’re about building a workflow that respects your team’s time and keeps creative momentum from being derailed by production busywork.
The uncomfortable truth is this: indie developers and small teams are under the most competitive pressure while having the fewest resources. Automation levels that playing field. A solo developer with the right tools can produce a listing that looks as polished as one from a 20-person company.
Pro Tip: Treat screenshot automation as core infrastructure, not a nice-to-have. Budget for it the same way you’d budget for hosting or analytics. The ROI is measurable, and the alternative is paying for it in developer hours indefinitely.
Upgrade your screenshot workflow with AppScreenKit
To put these insights to work, here’s how you can transform your own screenshot process.
AppScreenKit is built specifically for developers and small teams who need professional, store-ready screenshots without a dedicated design workflow. It handles the complexity you’ve read about in this article: device size compliance, consistent branding, localization-ready layouts, and pixel-perfect exports at every required dimension.
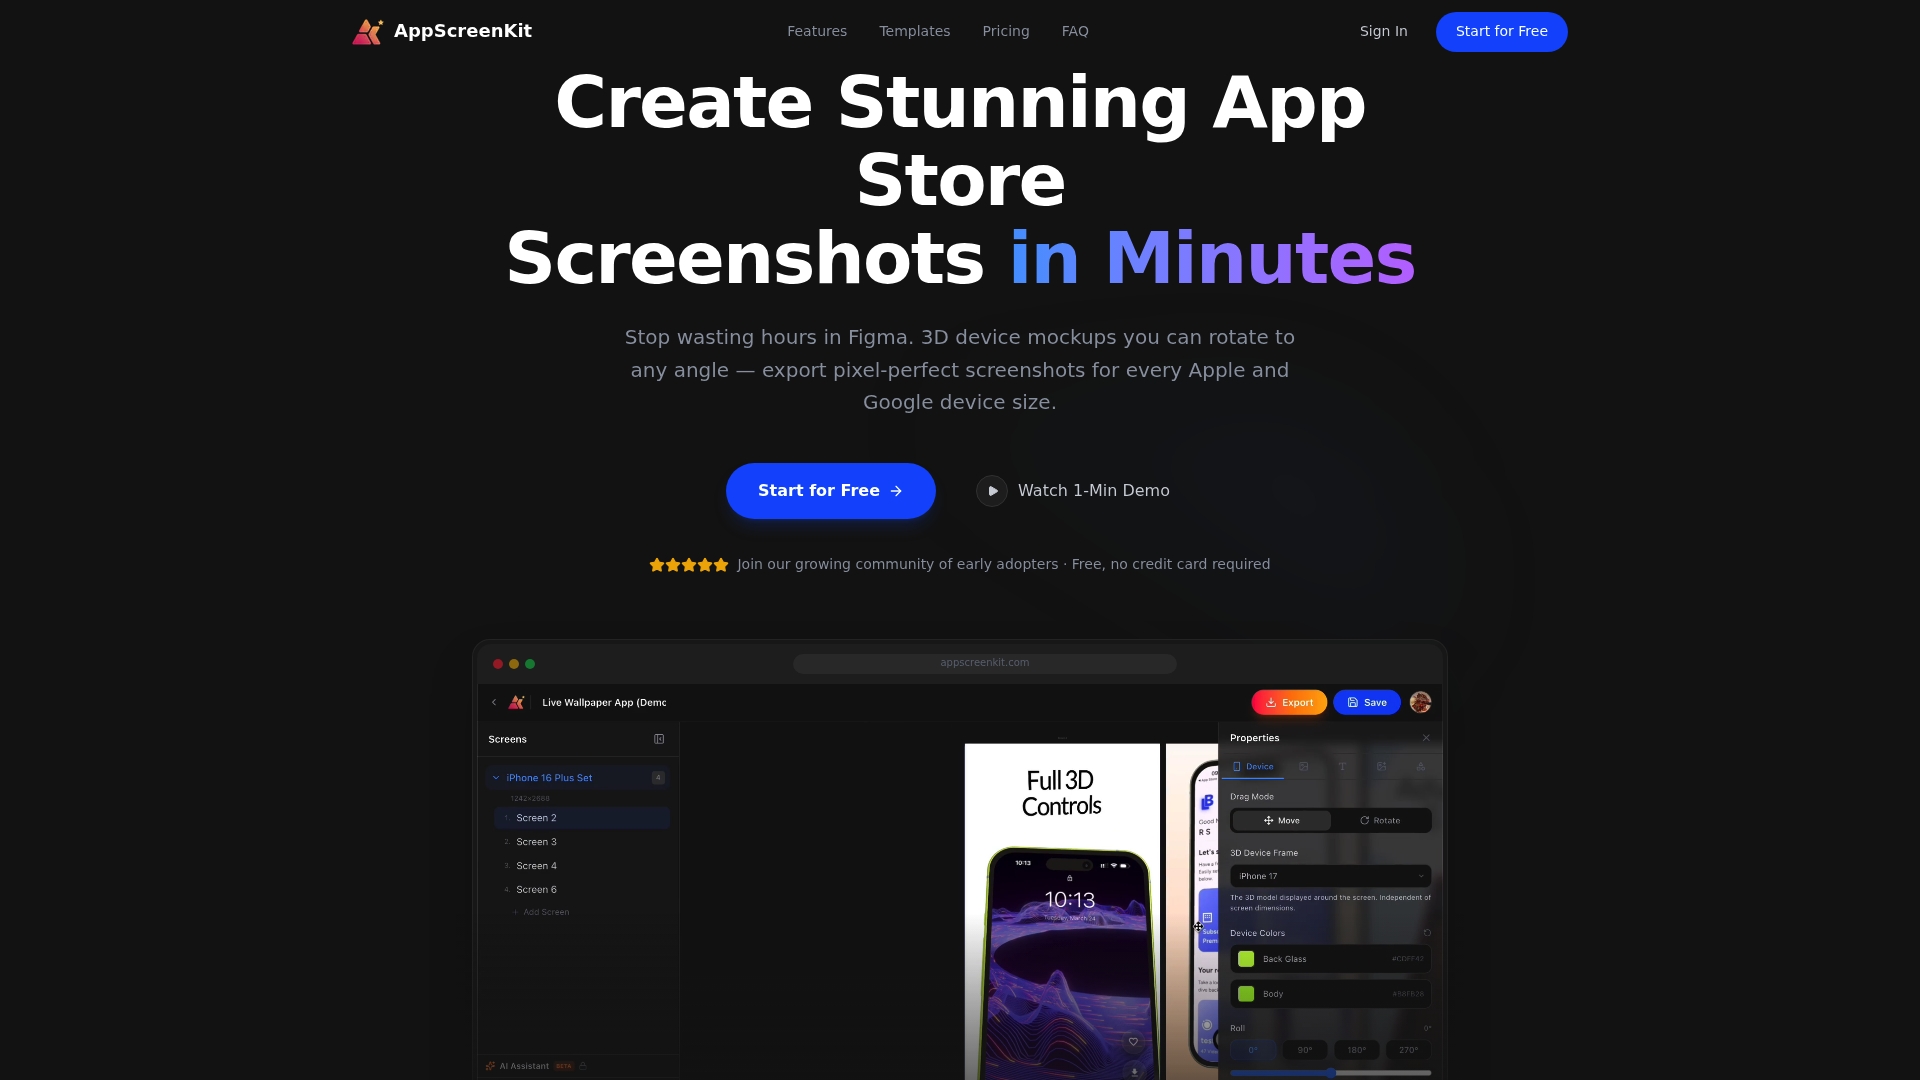
You don’t need Figma skills or a designer on retainer. Upload your app images, customize with 3D device mockups, add branded text and gradient backgrounds, and export all required sizes in a single click. Explore the pre-built templates to get started immediately, or build a custom workflow that fits your release cycle. Either way, fast screenshot generation means your next launch won’t be delayed by screenshots again.
Frequently asked questions
What are the main risks of creating screenshots manually?
Manual screenshots risk rejection from orientation, device, or UI differences, leading to inconsistent visuals and repeated back-and-forth with App Store reviewers that delays your release timeline.
How do automated tools handle localization and device differences?
Automated tools are built to handle locale and text changes, orientation variations, and device requirements simultaneously, generating compliant, consistent screenshots across all your supported markets and device tiers.
Are automated screenshot tools suitable for indie developers?
Absolutely. Automation saves hours per release and removes the error-prone manual steps that hit small teams hardest, making it one of the highest-ROI investments an indie developer can make.
What should I look for in an automated screenshot tool?
Prioritize tools that are CI/CD-friendly and deterministic, use mocked data for consistency, update automatically for new device requirements, and handle localization without manual configuration on your end.
Leave a Reply