TL;DR:
- No-code screenshot generators enable quick, compliant app store visuals without advanced skills.
- Organized source images and knowledge of platform requirements streamline fast, error-free exports.
- Speed-focused workflows prioritize launching and iterating over perfection to boost app success.
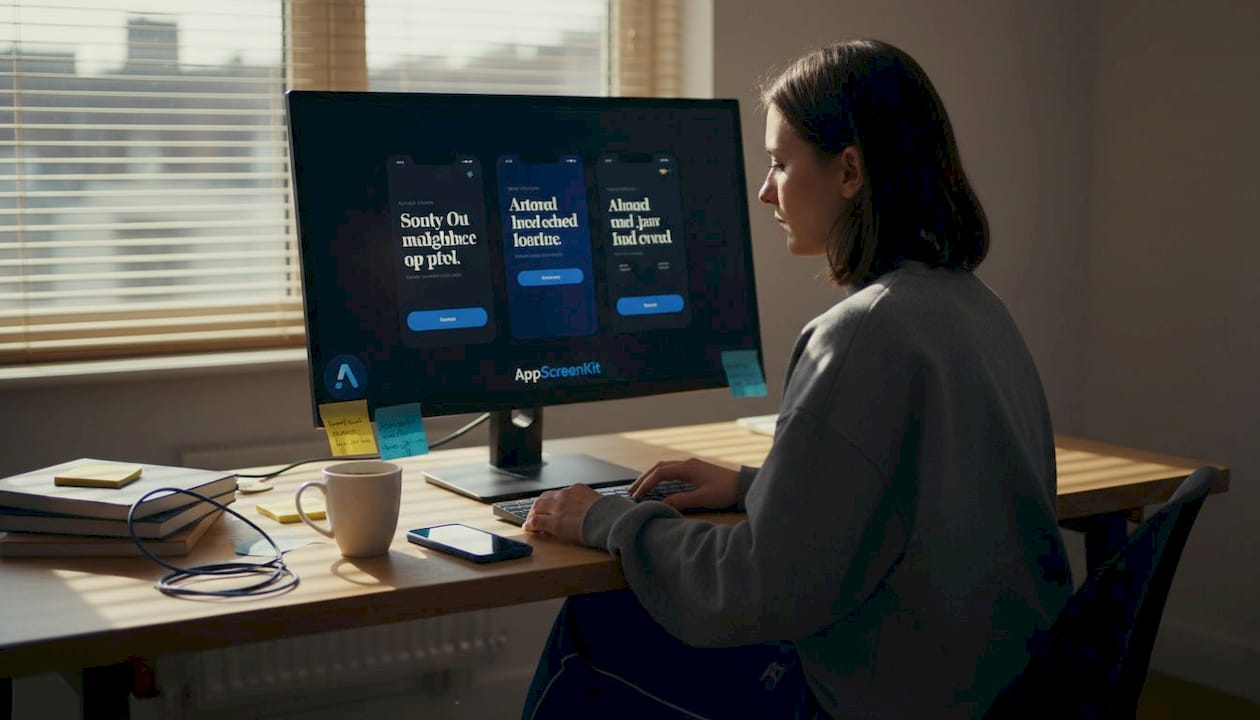
You spend months building your app, then rush the screenshots the night before launch. Sound familiar? For indie developers and small teams, app store screenshots are often the last thing on the list and the first reason for rejection or poor conversion. No-code screenshot generators like AppShots, Make App Shots, and AppLaunchpad now let you upload raw screenshots, pick templates, customize everything, and export a full ZIP of every required size in minutes, without touching Figma or Photoshop. This guide walks you through exactly what you need, step by step, to get compliant, polished screenshots out the door fast.
Table of Contents
- What you need for pixel-perfect screenshots
- Step-by-step: Fast and easy screenshot export
- Critical requirements: Avoiding rejection and common mistakes
- Automation vs. no-code tools: Choosing the best workflow
- Why speed beats perfection for indie app screenshots
- Accelerate your app visuals with AppScreenKit
- Frequently asked questions
Key Takeaways
| Point | Details |
|---|---|
| No-code tools save time | Modern screenshot generators can export polished visuals in minutes without design skills. |
| Check app store requirements | Correct dimensions and orientations prevent rejection and wasted effort. |
| Choose your workflow | Pick automation for technical teams or no-code tools for simplicity and speed. |
| Speed over perfection | Prioritizing quick, consistent exports enables more updates and better results for small teams. |
What you need for pixel-perfect screenshots
Before diving into the process, let’s make sure you have everything needed for smooth and successful screenshot export. Getting organized upfront saves you from frustrating do-overs and rejection notices later.
Your raw app screenshots come first. Capture them at the highest resolution your device or simulator allows. Blurry or low-resolution source images will look worse, not better, once placed inside a device frame. For iOS, use the Xcode simulator at native resolution. For Android, use Android Studio’s emulator with screen capture enabled. The source quality sets the ceiling for your final output.
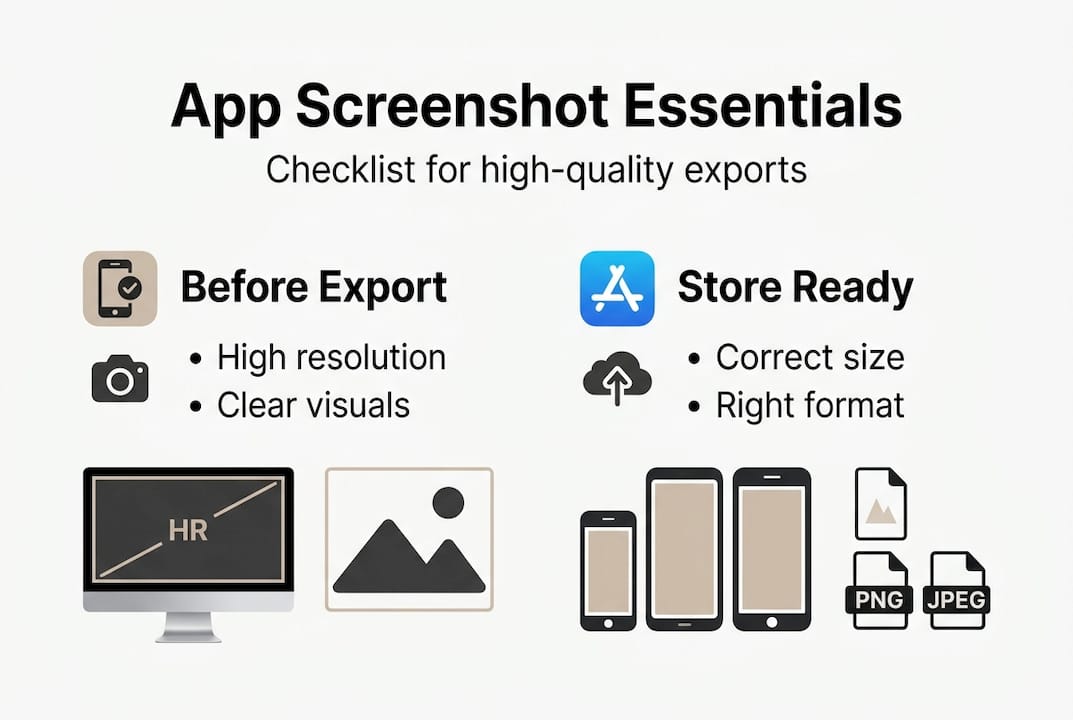
Know your format requirements before you start. The App Store and Google Play each have specific rules for file type, resolution, and aspect ratio. Apple accepts JPEG and PNG, while Google Play allows JPEG or 24-bit PNG. Neither accepts GIFs or animated formats for standard screenshots. Knowing this before you start means you won’t waste time exporting the wrong format.
| Tool | Skill needed | Export formats | AI copy | Price |
|---|---|---|---|---|
| AppShots | None | ZIP (all sizes) | Yes | Free tier available |
| Make App Shots | None | ZIP (all sizes) | Limited | Free tier available |
| AppLaunchpad | Basic | ZIP (all sizes) | Yes | Paid plans |
| Figma (manual) | Advanced | Manual export | No | Paid |
| Photoshop (manual) | Expert | Manual export | No | Paid |
The table above makes the choice clear for most indie teams. Manual tools like Figma and Photoshop give you the most control, but they demand advanced skills, time, and patience that most small teams simply don’t have during a launch sprint.
No-code screenshot templates solve exactly this problem. They provide professionally designed layouts where you drop in your raw screenshot, adjust text, and export. No layer management, no artboard juggling, no wrestling with export settings.
Here is what you need to gather before starting:
- Raw screenshots: One per key screen, captured at simulator or device native resolution
- App name and tagline: Short, punchy lines that describe each feature shown
- Brand colors: Hex codes ready so you can match your palette instantly
- Platform targets: Know whether you need iOS only, Android only, or both
- Device list: iPhone 6.9-inch, iPad 13-inch, Android phone, tablet, etc.
Pro Tip: Check the current size requirements for every device you target before you open any tool. Both Apple and Google update their requirements periodically, and submitting outdated dimensions is one of the most common and preventable causes of rejection.
Step-by-step: Fast and easy screenshot export
Now that you know what tools and files you need, let’s walk through the fastest export process step by step. This workflow applies to most no-code generators and takes most indie developers under 10 minutes from first upload to downloaded ZIP file.
-
Create your account and start a new project. Most no-code tools offer a free tier. Sign up, name your project after your app, and choose your primary platform. Starting with iOS is smart because the Apple requirements are the strictest, and meeting them often means your Android exports are straightforward afterward.
-
Upload your raw screenshots. Drag and drop your captured screens into the upload panel. Most tools accept PNG and JPEG. You’ll see a preview immediately. If something looks distorted, go back and re-capture the source at the correct resolution. Skipping this check is how you end up submitting blurry frames.
-
Select a device template for each screenshot. Choose the device frame that matches your target: iPhone 16 Pro Max, Google Pixel 9, iPad Pro 13-inch, and so on. Device frames matter because Apple and Google both check that the frame shown matches the actual screenshot dimensions. Mismatched frames are a fast track to rejection.
-
Customize your text and background. Add a short headline above or below the device frame. Keep it to six words or fewer per line if possible. Choose a background gradient or solid color that reflects your brand. This is where branding app screenshots pays off because consistent color and type style across all your screens signals professionalism to potential users before they even read a word.
-
Use AI-generated copy suggestions if you’re stuck. Several tools offer AI copy prompts based on what they detect in your screenshot. These aren’t always perfect, but they give you a starting point much faster than staring at a blank text box.
-
Export all required resolutions in one click. Once you’re happy with one screenshot design, apply the same template to your remaining screens and hit export. A good no-code tool generates every required resolution for every device in a single ZIP file.
| Platform | Required resolutions | Max file size | Format |
|---|---|---|---|
| App Store (iPhone) | 1290×2796, 1320×2868 | 500 MB | PNG, JPEG |
| App Store (iPad) | 2048×2732 | 500 MB | PNG, JPEG |
| Google Play (phone) | 1080×1920 minimum | 8 MB | PNG, JPEG |
| Google Play (tablet) | 1200×1920 minimum | 8 MB | PNG, JPEG |
Applying this process to fast screenshot generation means your whole set of screenshots can be ready long before your app binary is approved, so there’s zero delay at submission time.

Pro Tip: Save your customized design as a preset or template inside the tool before exporting. When your next app update ships, you can update one screenshot, apply the preset, and export in two minutes instead of rebuilding everything from scratch.
Critical requirements: Avoiding rejection and common mistakes
With your screenshots exported, let’s make sure you avoid the mistakes that cost indie developers time and app approvals. Rejection hurts more than just your schedule. It resets your review queue position, which can delay your launch by days.
Dimension errors are the number one rejection cause. Apple requires portrait orientation for iPhone screenshots. A common rejection case involves submitting 2868×1320 images (landscape) when 1290×2796 portrait is required. This happens most often when developers capture screenshots on a physical device in landscape mode or misconfigure their automated export tool. The fix is simple: always force portrait mode in your capture settings.
The most common mistakes that lead to rejection or poor performance include:
- Wrong aspect ratio: Each device slot requires a specific ratio. A 16:9 image submitted for a 19.5:9 slot gets stretched or rejected outright.
- Mismatched device frame: Submitting a Pixel 9 frame for an iPhone 16 Pro Max listing confuses both the reviewer and the user.
- Unreadable text: Text smaller than roughly 24pt in the final exported image often becomes illegible on smaller phone screens in the store listing.
- Missing light and dark mode versions: Some apps require both, especially if your UI changes significantly between modes. Submitting only one can mislead users.
- Non-representative screens: Screenshots must accurately represent your app. Showing features that don’t exist in the current version is a guideline violation that leads to rejection and potential removal.
“Force portrait mode for iPhones to avoid rejection. Use accessibility IDs in your UI tests for reliable automated captures, and always use mock data to ensure screens are full and representative.”
Automated tools like Fastlane need additional care. Accessibility IDs must be set on the UI elements your tests interact with, and you should use mock or seeded data so that screens are never empty or in an error state when captured. An empty dashboard screenshot looks like a broken app, even if it’s just a data-loading issue during the test run.
One final check saves everything. Before you upload to App Store Connect or Google Play Console, preview each screenshot on a real device or in the store simulator. What looks great on your 27-inch monitor can look cramped and illegible on a 6-inch phone screen. This screenshot size compliance check takes five minutes and catches issues that automated tools miss.
Staying current with app store requirements is an ongoing responsibility. Apple updates its screenshot specifications alongside major iOS releases every fall, and Google Play has updated its requirements multiple times in recent years.
Pro Tip: Build a simple checklist document for your team that covers every required dimension, orientation, and format for each platform you ship on. Update it every time Apple or Google announces changes. Thirty minutes of maintenance saves hours of re-export work later.
Automation vs. no-code tools: Choosing the best workflow
Once you understand the common pitfalls, it’s important to choose the workflow that suits your skills and timeline best. There’s no single right answer here. The best choice depends on your technical depth, your team size, and how often you ship updates.
Fastlane automation is the right call if your team already has UI tests written and your app updates frequently. Fastlane’s Snapshot tool runs your Xcode UI tests, captures screenshots at every defined screen, and packages them for upload. Once set up, it runs with a single terminal command. The comparison to manual workflows shows that automation wins for repeatability on large apps with many screens, but the initial setup can take a full day or more. You also need to maintain the tests as your UI evolves.
No-code generators win for almost every other scenario. If you have a small team, a tight deadline, or limited coding resources for test maintenance, a no-code tool delivers results in a fraction of the time.
| Factor | Fastlane automation | No-code generator |
|---|---|---|
| Setup time | Several hours to a full day | Under 30 minutes |
| Learning curve | Steep (requires Ruby, Xcode, CLI) | Minimal (drag and drop) |
| Ongoing maintenance | High (UI tests break with updates) | Low (update template, re-export) |
| Export reliability | High once configured | High out of the box |
| Design customization | Limited (captures live UI) | High (templates, colors, text) |
| Cost | Free (open source) | Free to low monthly cost |
Choose automation when:
- You ship updates more than twice a month and need repeatable, consistent captures
- Your app has more than 20 distinct screens to capture
- You have an existing CI/CD pipeline where Fastlane already fits naturally
- Your team includes a developer who can own test maintenance
Choose a no-code generator when:
- You’re a solo developer or a team of two or three people
- You need to ship screenshots for a new app quickly for the first time
- Your UI doesn’t change dramatically between updates
- Design quality and brand consistency matter as much as automation
If you’re researching mockup tool alternatives to see what fits your budget and skill level, you’ll find no-code tools consistently outperform manual approaches for small teams on a tight timeline.
The honest answer for most indie developers is to start with a no-code tool, get your first set of screenshots live, and only invest in automation once your update cadence demands it. Don’t build infrastructure for a problem you don’t have yet.
Why speed beats perfection for indie app screenshots
Here is the counterintuitive truth that most design-focused advice ignores: your first set of screenshots doesn’t need to be perfect. It needs to be good enough to go live and start collecting data.
Perfectionism costs indie teams real money. Every week you spend tweaking gradients and font sizes is a week your app isn’t in the store earning downloads and reviews. App users browsing the store make a decision in roughly three seconds. They’re responding to clarity and relevance, not pixel-level craft. A screenshot that clearly communicates what your app does will outperform a beautiful but ambiguous design every time.
The smarter approach is to ship a solid first set, watch your store listing analytics, and iterate based on what the data tells you. If your screenshots have a low conversion rate, you test a new headline or layout. If a particular screen generates tap-throughs, you lead with it. This is only possible if you can export new screenshots quickly, which is exactly what save time on screenshots workflows enable.
Small teams that iterate win. They launch, learn, and improve faster than teams that spend three weeks polishing before launch. Speed is your competitive advantage when you can’t match the design budgets of larger studios.
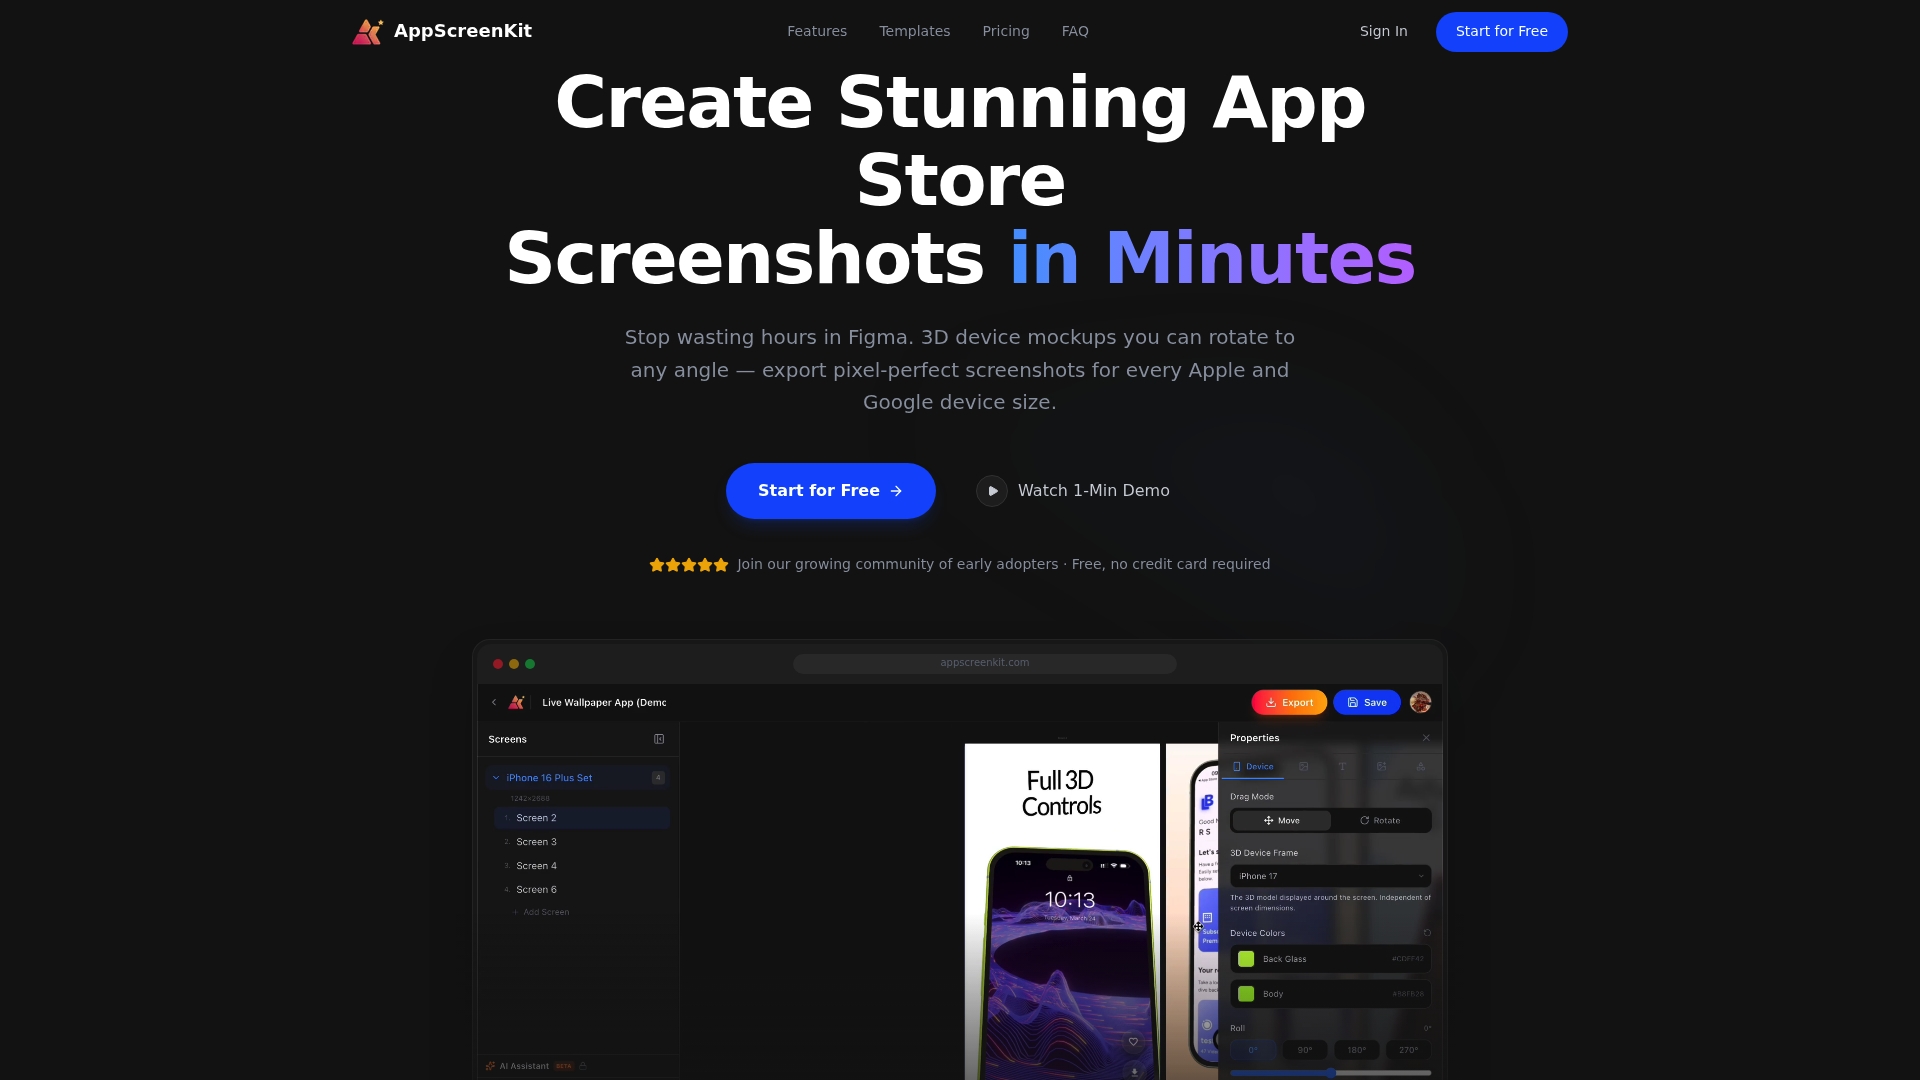
Accelerate your app visuals with AppScreenKit
Ready to simplify your workflow and save hours per release? AppScreenKit gives indie developers and small teams everything they need to produce professional app store visuals without a designer on staff. Pre-built templates, 3D device mockups you can rotate in real space, branded text, gradient backgrounds, and single-click export across every required device size are all built in.
Whether you’re preparing your first launch or refreshing an existing listing, AppScreenKit cuts what used to take half a day into a workflow that fits inside your lunch break. You can save hours per release by keeping your designs as reusable templates that update in seconds when your UI changes. And if you want to see how template-based workflows actually speed things up in practice, you can try template-based exports and see the difference firsthand. Professional screenshots shouldn’t require a professional budget.
Frequently asked questions
What is the fastest way for indie developers to export app screenshots?
No-code screenshot generators like AppShots can deliver export-ready files for all devices in under 10 minutes, even for teams without any design skills. Upload your raw screenshots, pick a template, customize your text, and download a ZIP with every required resolution.
What dimensions must iOS app screenshots have for App Store acceptance?
For iPhones, screenshots must be in portrait mode with specific dimensions like 1290×2796 pixels. Using landscape dimensions such as 2868×1320 leads directly to rejection, so always verify orientation settings before exporting.
Can I automate screenshot exports using Fastlane?
Yes, Fastlane enables automatic exports using Xcode UI tests, but it requires accessibility IDs and a properly configured test environment for reliable, consistent results across every screen.
How do I avoid app store rejection due to screenshot issues?
Verify dimensions and frame orientation before export, check requirements per store and device type, and preview each screenshot on a real device screen before submitting to the store.
Leave a Reply